

Uber has truly changed the way we move around in cities.
It’s super user-friendly, but before you can hop in, you’ll need to set up an account first. To get started, just download the app on your phone or head over to Uber’s website on your computer.
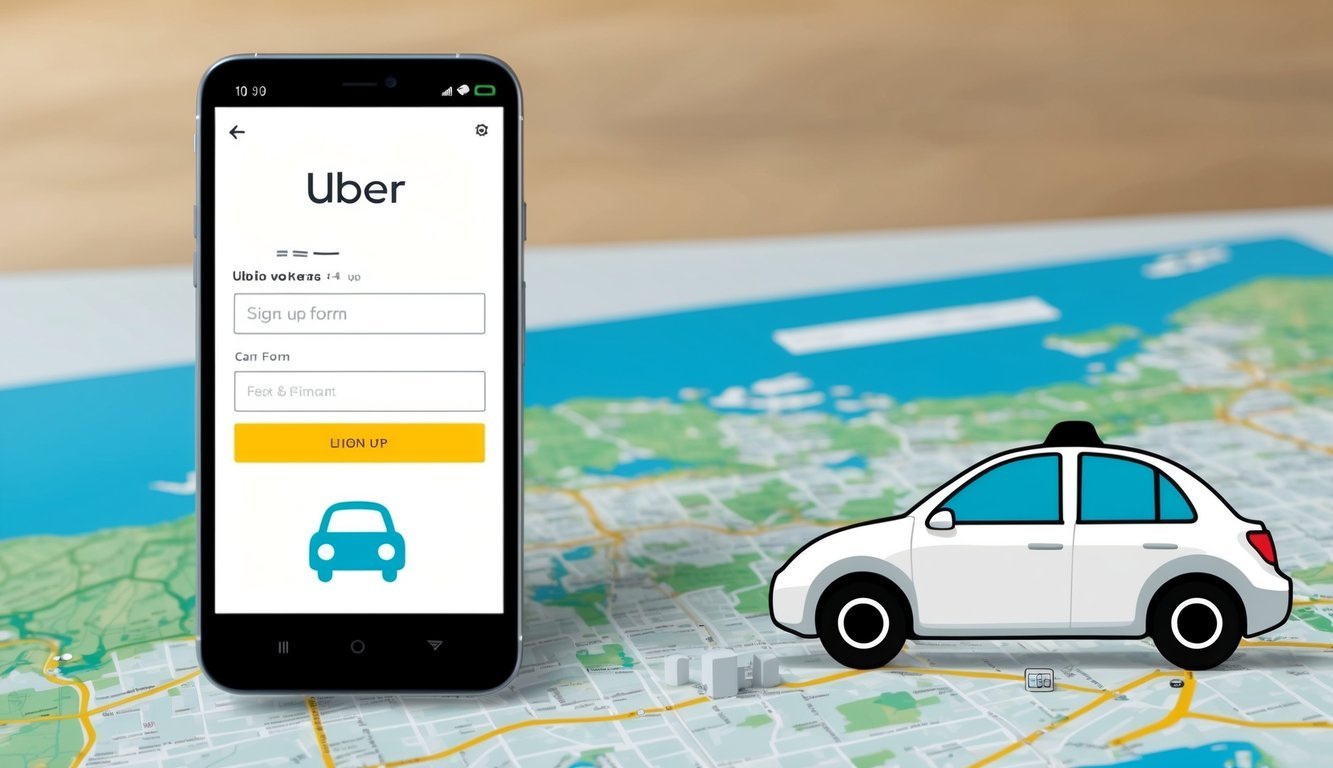
alt=”A smartphone displaying the Uber app open to the sign-up page, with a credit card and personal information ready to be entered”>
Once you’ve got the app or website handy, you’ll need to enter some basic info, like your name, email, and phone number.
Don’t forget to add a payment method too!
After that, you’re all set to request your very first ride!
Setting up your Uber account won’t take more than a few minutes.
Trust me, the convenience of getting rides whenever and wherever you need them is more than worth it.
Plus, you can use your account in tons of cities worldwide!
Key Takeaways
- Creating an Uber account is a quick and easy process that you can do either on your phone or your computer.
- You’ll need to drop in some basic info and set up a payment method to kick things off.
- Once you’re all set, it’s easy to request rides right from the Uber app or website!
Setting Up Your Uber Account
Getting your Uber account set up is a breeze.
All you need is a smartphone, a few details, and a way to pay.
Download the Uber App
First things first, you’ll need the Uber app on your phone.
Head over to your app store—the App Store for iPhones or Google Play for Android.
Search for “Uber,” and hit the install button.
Once it’s done, just open the app up.
The app is free and doesn’t take up much storage space.
It should work like a charm on most modern smartphones, so you’re likely good to go.
Create Your Account
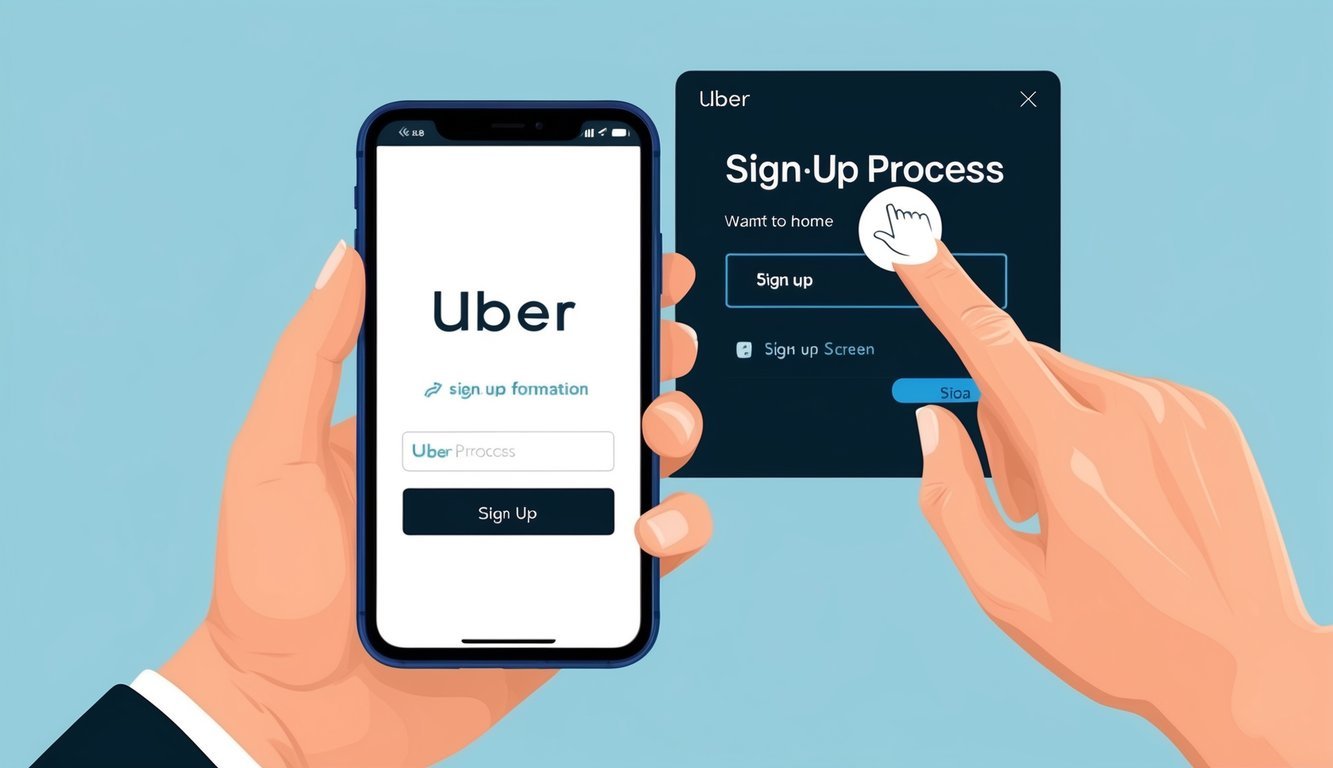
When you launch the app, you’ll see a sign-up screen waiting for you.
Tap “Create an account” to kick things off.
You’ll have to enter your phone number.
Uber will send you a text with a code to verify it’s really you buzzing on the other end.
Next, input your email.
Choose a strong password you’ll remember, and then enter your first and last name—just like they appear on your ID.
Lastly, pick your favorite language from the list.
Verifying Your Information
After you’ve entered your details, Uber will want to make sure everything’s legit.
They’ll shoot a text to your phone with a 4-digit code for you to enter in the app to confirm your number.
Simple, right?
You might also have to verify your email.
Just check your inbox for a message from Uber and click on the link inside.
It’s a handy step toward keeping your account protected.
Lastly, toss in a payment method.
You can use a credit card, debit card, PayPal, or even Uber gift cards.
The app will take you through adding your preferred payment option.
Riding with Uber
Uber has a bunch of ride options to suit your needs.
Whether you’re going across town or just around the block, it’s pretty easy to request a ride, pay, and ensure your safety during your trip.
Let’s dive into what you need to know about riding with Uber.
Selecting Your Ride
From UberX, which is the basic ride for everyday trips (fits up to 4 people), to UberXL for larger groups (up to 6), there’s something for everyone.
Fancy a touch of luxury? Consider Uber Black or Select—those come with high-end cars and professional drivers.
To pick your ride:
- Open the Uber app.
- Type in your destination.
- Swipe through the ride options.
- Choose one that suits your needs and your budget.
The app lays out prices and wait times for each option, helping you make the best choice for your journey.
Payment and Safety
Paying with Uber is super straightforward.
Just add your credit card or any payment method to your account, and the app takes care of charging you automatically after each ride.
No fumbling for cash or awkward tipping moments here! Of course, if you feel like tipping, you can do that right in the app.
Safety is a big deal for Uber.
They verify drivers and their vehicles, so when you request a ride, you’ll see:
- The driver’s name and photo.
- The make and model of the car.
- The license plate number.
Always double-check these details before hopping in.
It’s a good habit that keeps you safe.
If you ever feel uneasy during your ride, don’t forget about the emergency button in the app.
It’s there for a reason.
Requesting and Scheduling Rides
Getting a ride is a piece of cake.
Open the app and follow these simple steps:
- Enter your destination.
- Choose your ride type.
- Tap “Request.”
The app even shows your driver’s location on a map, so you’ll know just how long until they arrive.
No more guessing games!
Need a ride later? You can schedule rides in advance, which is super handy for airport trips or important meetings.
To schedule:
- Tap the car icon.
- Select “Schedule.”
- Choose your date, time, and location.
- Pick your ride type.
- Confirm your ride.
When it’s time, Uber will find a driver for you.
Frequently Asked Questions
Signing up for Uber can look a little different based on whether you’re a rider, driver, or delivery partner, and what device you’re using.
It’s pretty straightforward once you get the hang of it!
What do I need to become an Uber driver?
If you’ve got your eyes set on becoming an Uber driver, you’ll need to meet some basic requirements.
This includes having a valid driver’s license, car insurance, and a clean driving record.
Don’t forget you’ll also have to pass a background check.
Once you’re all set, you can start accepting ride requests through the Uber Driver app.
How do I get started with Uber Eats as a driver?
Jumping into Uber Eats as a driver is pretty much the same as being a regular Uber driver.
Sign up through the Uber app or website, and after that, you’ll need to submit some necessary documents, like your driver’s license and vehicle registration, based on your mode of delivery.
Once you’re approved, you can start accepting delivery requests when it fits into your schedule.
And if you’re looking for more fun activities, like checking out the NYC Marathon, now’s the time!
Just share your personal information and vehicle details.
Once you’ve passed the background check, you’re good to go for food deliveries!
What’s the process for creating an Uber account on my Android phone?
To create your Uber account on an Android phone, start by downloading the Uber app from the Google Play Store.
Open it up and tap “Sign Up.”
Fill in your name, email, and create a password.
Then, verify your phone number and add a payment method to wrap things up.
Can you walk me through setting up an Uber account on my iPhone?
Setting up your Uber account on an iPhone couldn’t be easier.
Download the Uber app from the App Store.
Tap “Sign Up” and fill in the required details.
Just provide your name, email, and create a password.
Verify your phone number and add a payment method to complete the setup!
What are the first steps for using Uber as a rider?
If you’re ready to use Uber as a rider, start by downloading the app and creating an account.
Input your pickup and drop-off locations in the app, choose your ride type, and tap “Request.” It’s that simple! You can track your driver’s arrival on the map as you wait.
What are the requirements to open an Uber account?
To open your Uber account, you need to be at least 18 years old.
You’ll also need a valid email address and phone number.
A payment method, such as a credit card or PayPal account, is necessary too.
And don’t forget, you’ll need a smartphone that can run the Uber app.
Easy enough, right?