
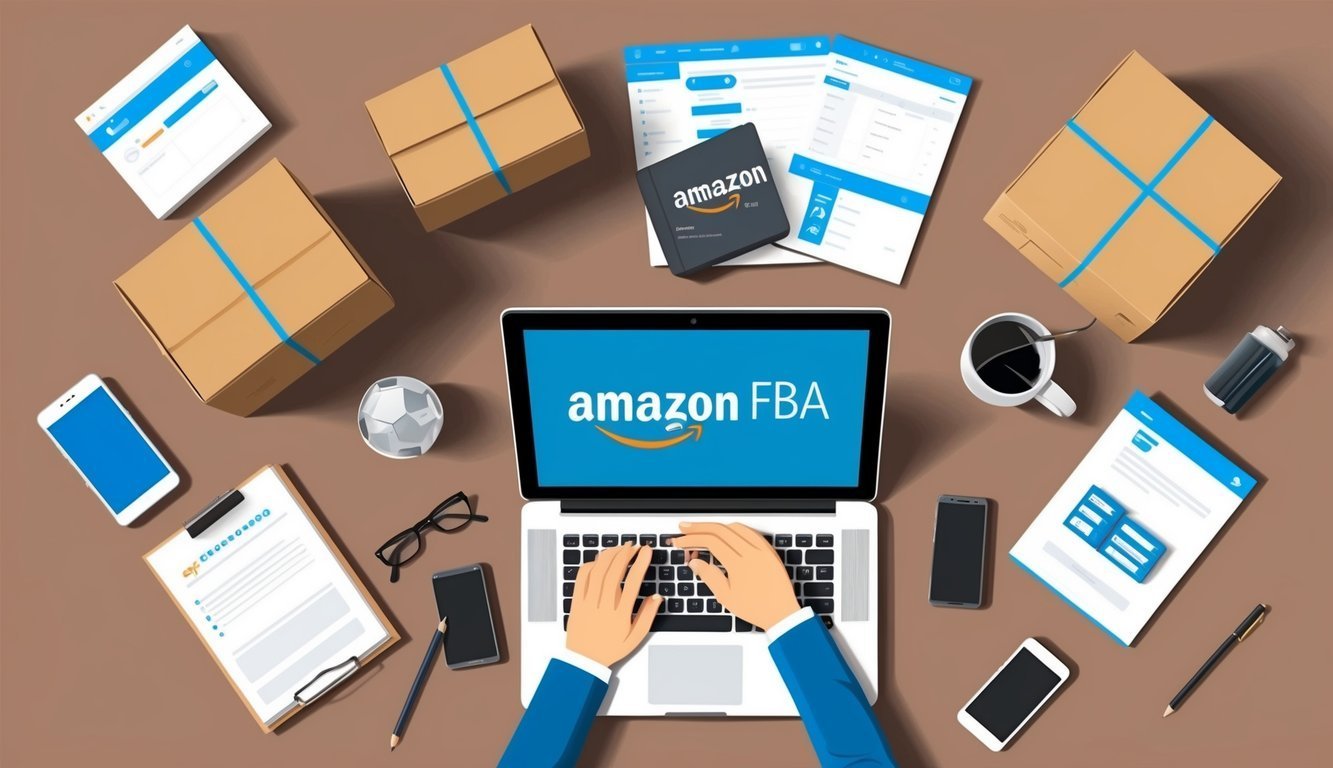
### Your Guide to Amazon FBA: A Seller’s Best Friend
Amazon FBA, which stands for Fulfillment by Amazon, is an incredible opportunity for online sellers looking to scale up their businesses.
Imagine being able to store your products in Amazon’s massive warehouses, while they take care of shipping and handling customer queries.
Sounds like a dream, right? Trust me, it can save you hours of time and let you focus on what you love about your business.
#### How to Kick Off Your Amazon FBA Journey
First things first—if you want to get started with Amazon FBA, you need to create a seller account over at sell.amazon.com.
Take a moment to choose a selling plan that suits your needs.
From there, you’ll add your products to the Amazon catalog and select FBA for fulfillment.
Shipping your inventory to an Amazon fulfillment center is the next big step—don’t worry, they handle everything from storage to packaging to shipping.
And if you need to know how to sign up for a Target RedCard, well, there are step-by-step instructions on Target’s official site for that too!
After setting up your account, go ahead and enroll in FBA.
This step unlocks a heap of opportunities for your online store.
#### Getting Your Products Ready for FBA
Now that you’re signed up, it’s time to prep your products for FBA.
You’ll need to label them correctly and adhere to Amazon’s packaging guidelines.
It might seem overwhelming at first, but many sellers agree that FBA simplifies their operation in the long run.
### Key Takeaways
– Setting up an Amazon seller account is the first step to FBA.
– FBA takes care of your storage, shipping, and customer queries.
– Properly preparing your products is crucial to succeeding with Amazon FBA.
### Setting Up Your Seller Account
Check out this helpful video on setting up your seller account:
Starting as an Amazon seller isn’t rocket science, but it does involve a few crucial steps.
You’ll need to register for Seller Central, choose a selling plan, and provide some basic information about your business.
Plus, pick the types of products you want to sell—just make sure they meet Amazon’s guidelines.
And if you’ve been wondering how to set up an Amazon storefront, you can do that through Seller Central too—there’s a process for that!
#### Registering for Seller Central
To dive into selling on Amazon, you’ll first need to sign up for a Seller Central account.
Think of this as your command center.
Here’s how you register:
1.
Head over to sell.amazon.com.
2.
Hit that “Sign up” button.
3.
Enter your email and create a password.
4.
Follow the prompts to wrap up the registration.
You can either use your existing Amazon customer account or create a fresh one just for selling.
Easy peasy!
#### Choosing Your Selling Plan
Amazon keeps things nice and simple with two main selling plans:
1. **Individual**: Pay $0.99 for each item sold.
2. **Professional**: A monthly fee of $39.99.
If you plan to sell more than 40 items each month, the Professional plan is probably your best bet.
It also gives you access to useful features like bulk listing tools and reports.
Starting small? Go with the Individual plan; you can always switch it up later.
#### Providing Your Business Information
As you set up, Amazon will ask for some basic business details.
These might include:
– Your legal business name
– Address
– Phone number
– Bank account info for payments
– Tax ID number
If you’re an individual seller, your Social Security number will do just fine as a tax ID.
On the flip side, businesses need an Employer Identification Number (EIN).
Make sure you’ve got your info accurate; it’s essential for account approval and ongoing operations.
### Managing Your Amazon FBA Inventory
Once you’re enrolled in FBA, keeping an eye on your inventory is crucial.
Solid inventory management helps you avoid running out of your hot-selling items or getting stuck with slow-moving stock.
#### Listing Your Products
You’re ready to start selling! Head over to Seller Central and click “Add a Product.” Here’s where you enter all the details and select FBA as your fulfillment method.
Remember, you’ll need a UPC, EAN, or SKU for each product.
Make your titles and descriptions clear, and don’t forget those high-quality images—they can make or break a sale.
Keep your listings updated, and check them regularly to ensure everything looks spot on.
#### Prep and Labeling Requirements
Amazon has strict packaging rules that you need to follow.
Your products need to be packed securely for shipping—don’t cut corners here! Some items may need extra protection.
Each item will require a scannable barcode label.
You can print these yourself or choose Amazon’s labeling service.
Just make sure the labels are properly placed and easy to scan; nobody likes a scanning issue, trust me!
#### Shipping and Inventory Management
After prepping your items, it’s time to send them off to an Amazon fulfillment center.
Create a shipping plan in Seller Central and follow the packing and shipping instructions provided.
Keep an eye on the FBA Dashboard to track your inventory levels.
It’ll help you stay on top of what you’ve got in stock and when you need to restock.
Pay special attention to any slow-moving items to avoid unwanted storage fees for older stock.
Regularly check for stranded inventory (items that can’t be sold due to listing problems) and fix those issues fast!
### FAQs
Here are some common questions I hear from new Amazon FBA sellers.
Let’s break them down!
#### What’s the scoop on Amazon FBA for beginners?
Amazon FBA is a fantastic way for newbies to get their products into customers’ hands quickly.
You send your stock to Amazon’s warehouses, and they take care of the rest—storing, packing, and shipping when orders come in.
Plus, customers get that sweet Prime shipping on FBA items, which is a huge perk!
#### Got any tips for getting my Amazon Seller Central account up and running?
Absolutely! Start by picking your selling plan, then sign up for an Amazon selling account.
You’ll have to provide some basic info about your business like your location and contact details, and Amazon will guide you through each step.
#### Can you explain how Amazon FBA works?
Sure thing! With FBA, once you send your products to Amazon, they handle everything else.
When an order comes in, Amazon picks, packs, and ships the product to the customer.
They even deal with customer service and returns for you, letting you focus on chasing down great products to sell.
#### Can I start Amazon FBA with zero inventory?
You bet! Some sellers dive into FBA using a strategy known as retail arbitrage.
It involves picking up low-cost items from local stores and flipping them on Amazon for a profit.
There are also wholesale or private label methods, but these often require a bit more upfront investment.
#### How much cash do I need to kick off my FBA journey?
Your startup costs can vary.
At the very least, you’ll need cash for inventory and Amazon’s fees.
Individual sellers pay $0.99 per sale, while Professional sellers have that monthly fee of $39.99.
Plus, FBA has its own fees based on size and weight.
Start small and put those profits back into your business as you grow!
#### What’s needed to finalize my Amazon FBA registration?
To register for FBA, you’ll need that Amazon selling account first.
Once that’s set, hop into Seller Central, click the gear icon, select “Account Info,” and then sign up for FBA.
You can create new FBA listings or convert existing ones to FBA with ease.
And there you have it! You’re now armed with the knowledge to get started with Amazon FBA.
It may seem like a lot at first, but trust me, with a little practice, it’ll feel like second nature.
Now, why not go give it a shot? You’ve got this!